I have been looking for ways to make my little cards “pop” more. I find layering different textures helps this…an embossed card, an inked background, some cute critters popped up with fun foam, etc.
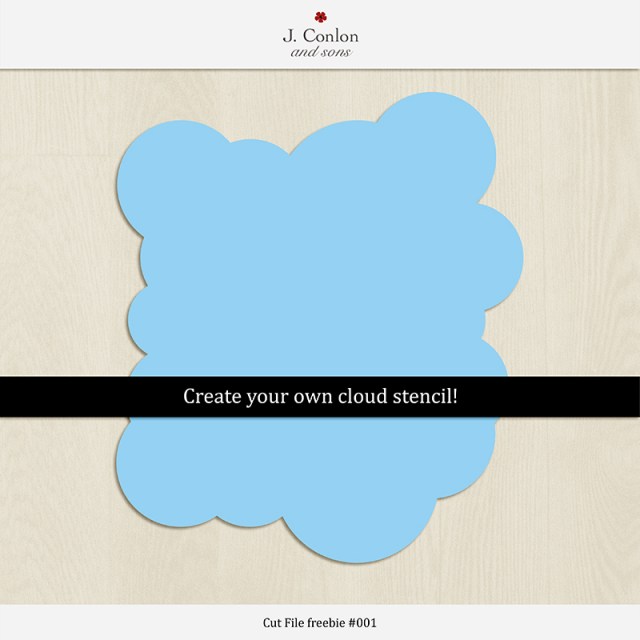
I saw the cloud backgrounds on other sites and I wanted to try making my own. I’m incredibly cheap so I really mean make my own stencil. I drew up a square-ish cloud shape in Adobe Illustrator and exported it to use with my Silhouette. I cut it out of some basic cardstock and voilà — my own cloud stencil. Now I’m not telling you all this so you will be incredibly jealous. The stencil is yours to download further down this post.
Here is the card I made with my awesome new cloud stencil. (You can purchase the card on Etsy.)
You can find a tutorial for the basic technique to make the clouds here on Jennifer McGuire’s blog. She has a link to purchase a stencil and another tip to make your own with cloud boarder dies.
You can download the PNG to make your own stencil here! (Unfortunately I can’t make an .svg file but you can open the PNG with your Silhouette Studio software and go to town.)
Here are some of the products I used for my card:
|
|
 |


Thank you so much for the cloud stencil file!!
Wow, thanks for sharing your cloud stencil design for free! I don't have the dies to make one, nor do I own one so I am super pleased. I have a scan n cut so I am not sure if will work on that but it might. If I was actually skilful with a computer I could try making one on scan n cut canvas program, but really I am not, hence I appreciate you sharing yours.